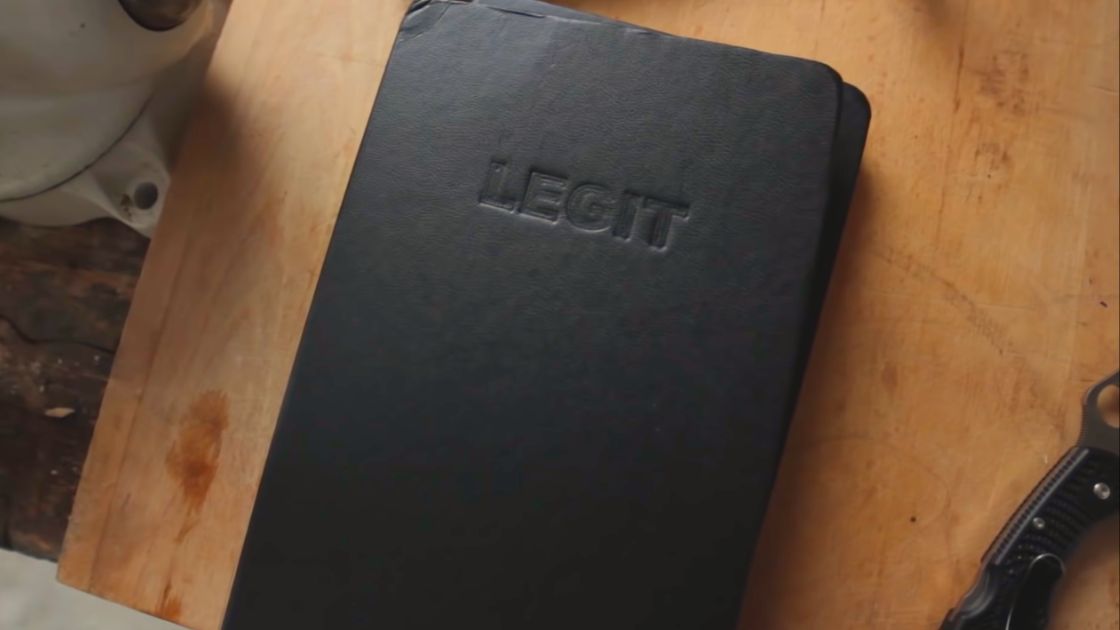
Embossing adds a touch of elegance and personalization to notebooks, making them stand out as unique and stylish accessories. With 3D printing technology, you can easily create custom embossing plates to add your own designs and patterns to notebooks. Here’s a comprehensive guide on how to make 3D printed embossing plates for custom embossed notebooks:
Contents
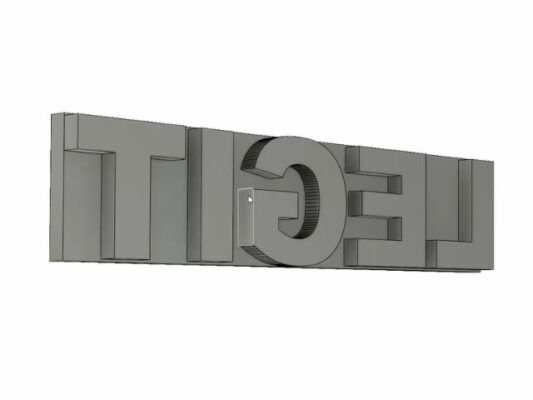
Step 1: Designing Your Embossing Plate
- Choose Your Design: Begin by selecting the design or pattern you want to emboss onto your notebooks. This could be a logo, monogram, intricate pattern, or any other image that you desire.
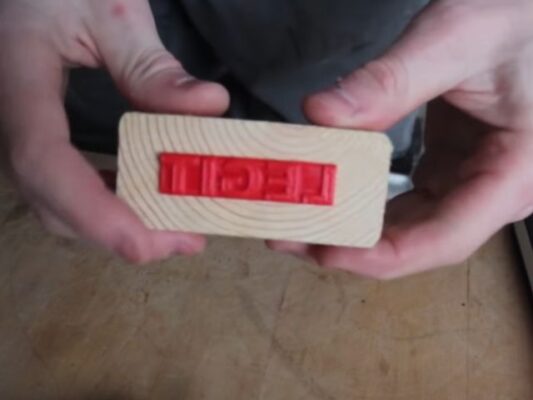
- Digital Modeling: Use computer-aided design (CAD) software such as Tinkercad, Fusion 360, or Blender to create a 3D model of your chosen design. Ensure that the design is raised and inverted, as it will be embossed onto the notebook cover.
- Sizing and Scaling: Adjust the size and scale of your design to fit the dimensions of your notebook covers. Consider the placement and orientation of the design for optimal visual impact.
Step 2: Preparing for 3D Printing
- Exporting the Model: Once your design is finalized, export it as an STL file, which is the standard file format for 3D printing.
- Slicing Software: Import the STL file into slicing software such as Cura, Simplify3D, or PrusaSlicer. Here, you will configure printing settings such as layer height, infill density, and print speed.
- Support Structures: Depending on the complexity of your design, you may need to add support structures to ensure that the embossing plate prints correctly. These supports can be easily removed after printing.
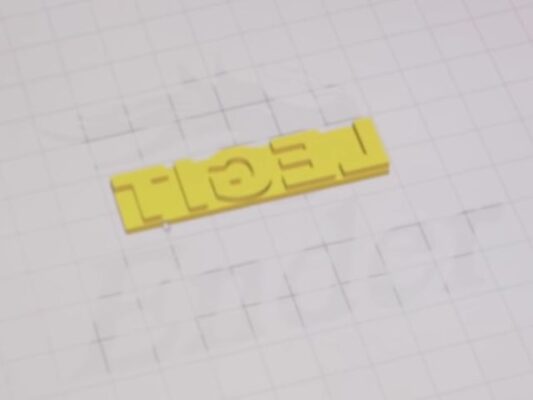
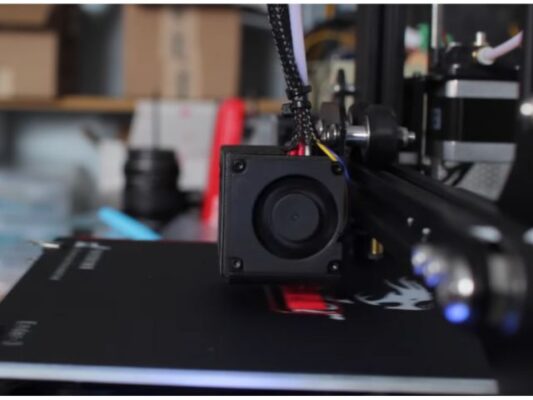
Step 3: 3D Printing the Embossing Plate
- Choosing Filament: Select a suitable filament for your embossing plate, such as PLA or PETG. Consider factors like durability, flexibility, and color.
- Printer Setup: Set up your 3D printer according to the manufacturer’s instructions, ensuring that the print bed is level and the nozzle is properly calibrated.
- Printing: Start the printing process and monitor the progress closely. Depending on the size and complexity of your embossing plate, printing may take several hours.
Step 4: Post-Processing
- Removing Supports: Once the printing is complete, carefully remove any support structures from the embossing plate using pliers or flush cutters.
- Cleaning: Clean any excess filament or residue from the embossing plate using a hobby knife or sandpaper. Ensure that the surface is smooth and free of imperfections.
- Finishing: Optionally, you can apply a coat of primer or paint to the embossing plate to enhance its appearance and durability.

Step 5: Testing and Adjustments
- Test Prints: Before embossing your notebooks, conduct test prints on scrap materials to ensure that the embossing plate produces the desired results.
- Fine-Tuning: Make any necessary adjustments to the embossing plate or printing settings based on the test prints, such as increasing or decreasing the depth of the embossing.
- Finalizing: Once you are satisfied with the test prints, your embossing plate is ready for use.
Step 6: Embossing Your Notebooks
- Prepare Notebook Covers: Place the notebook covers onto a flat and stable surface, ensuring that they are clean and free of debris.
- Align Embossing Plate: Position the embossing plate carefully onto the notebook cover, ensuring proper alignment and orientation of the design.
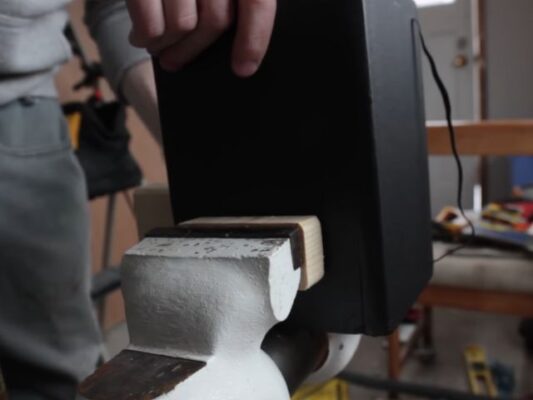
- Applying Pressure: Apply pressure evenly across the embossing plate using a rolling pin, embossing machine, or manual press. Ensure that the pressure is sufficient to transfer the design onto the notebook cover.
- Removing Plate: Carefully lift the embossing plate from the notebook cover to reveal the embossed design. Repeat the process for additional notebooks as desired.
Step 7: Finishing Touches
- Inspecting Results: Inspect the embossed design for any imperfections or inconsistencies. Touch up any areas as needed using a fine-tipped tool or sandpaper.
- Personalization: Consider further personalizing the embossed notebooks with additional embellishments such as ribbons, charms, or custom labels.
- Presentation: Present your custom embossed notebooks with pride, whether as personalized gifts, promotional items, or cherished keepsakes.

With this step-by-step guide, you can create stunning custom embossed notebooks using 3D printed embossing plates, adding a touch of creativity and sophistication to your stationery collection. Experiment with different designs, materials, and techniques to unleash your creativity and make truly unique creations.
Related Posts