In the ever-evolving world of crafting and digital design, the ability to create layered SVG (Scalable Vector Graphics) designs using Cricut Design Space opens the door to a myriad of possibilities. Layered SVGs allow for intricate and visually captivating designs, making them ideal for various projects, from personalized gifts to elaborate home decor. In this detailed guide, we’ll take you through the step-by-step process of making a layered SVG design in Cricut Design Space, unlocking the potential for multi-dimensional and dynamic creations in your crafting journey.
Contents
- 1 Understanding the Essence of Layered SVG Designs
- 2 Step 1: Planning Your Layered Design
- 3 Step 2: Accessing Cricut Design Space
- 4 Step 3: Adding Layers to Your Canvas
- 5 Step 4: Customizing Each Layer
- 6 Step 5: Arranging and Stacking Layers
- 7 Step 6: Attaching Layers for Cutting
- 8 Step 7: Cutting and Assembling
- 9 Troubleshooting Tips
Understanding the Essence of Layered SVG Designs
Before we embark on the tutorial, let’s briefly explore the significance of layered SVG designs in the realm of Cricut crafting:
- Dimensional Depth: Layered SVGs add a sense of depth to your designs by stacking multiple elements on top of each other. This creates a visually appealing and dynamic composition.
- Versatility: The versatility of layered SVGs allows you to experiment with various materials and colors, providing endless options for customization.
- Easy Assembly: Despite their intricate appearance, layered SVGs are designed for easy assembly. Cricut Design Space streamlines the process, making it accessible for crafters of all skill levels.
Step 1: Planning Your Layered Design
- Conceptualize Your Project: Before entering Cricut Design Space, have a clear concept of the layered design you want to create. Consider the elements that will make up each layer and how they will interact.
- Select Your Design Elements: Choose the shapes, graphics, or text that will constitute each layer of your SVG design. This could include intricate details or larger elements for a bold impact.
Step 2: Accessing Cricut Design Space
- Open Cricut Design Space: Launch Cricut Design Space on your computer or mobile device. Log in to your Cricut account, or create one if you haven’t already.
- Create a New Project: Click on “+ New Project” to initiate a new canvas for your layered SVG design.
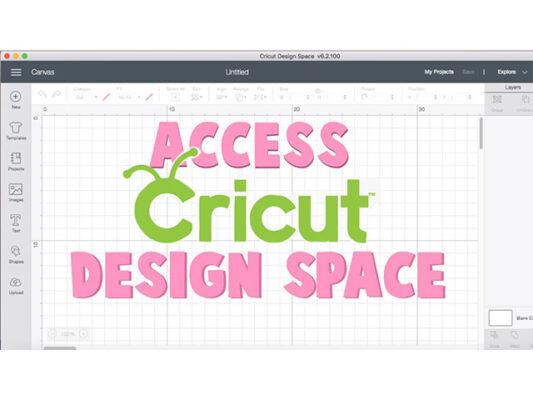
Cricut Design Space
Step 3: Adding Layers to Your Canvas
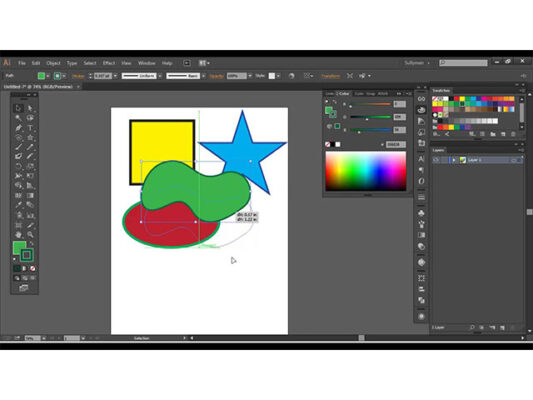
- Insert Shapes or Graphics: Use the design tools in Cricut Design Space to insert the shapes or graphics that will form the basis of your layered design. These will serve as the individual layers.
- Name and Duplicate Layers: For organization, name each layer based on its content. Duplicate layers as needed to accommodate the elements you’ve planned for your design.
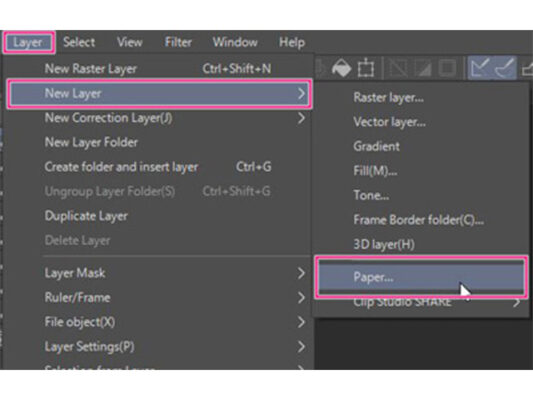
Add Layers to Canvas
Step 4: Customizing Each Layer
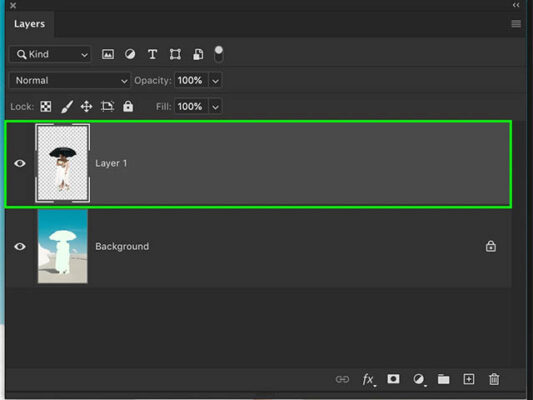
- Adjust Colors and Sizes: Customize each layer by changing the colors and adjusting the sizes of the elements. This helps visualize how the layers will stack together.
- Utilize Cricut Access Images: Explore the Cricut Access library for pre-designed images that can enhance your layered design. These images often come with multiple layers, simplifying the process.
Customize Each Layer
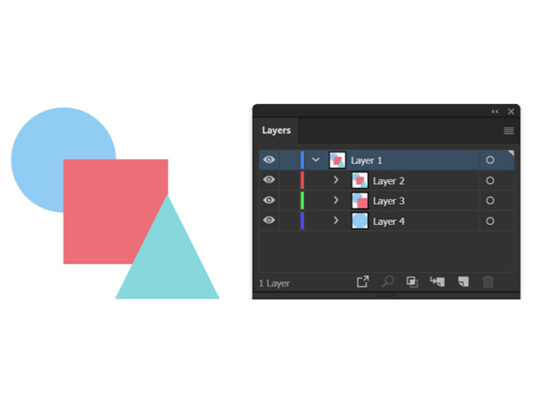
Step 5: Arranging and Stacking Layers
- Layer Order Matters: Arrange the layers in the order you want them to appear. Utilize the “Arrange” tool to bring certain layers to the front or send them to the back.
- Use the Sync Tool: The Sync tool in Cricut Design Space allows you to sync the colors of similar layers, making it easier to visualize the final design.
Arrange and Stack Layers
Step 6: Attaching Layers for Cutting
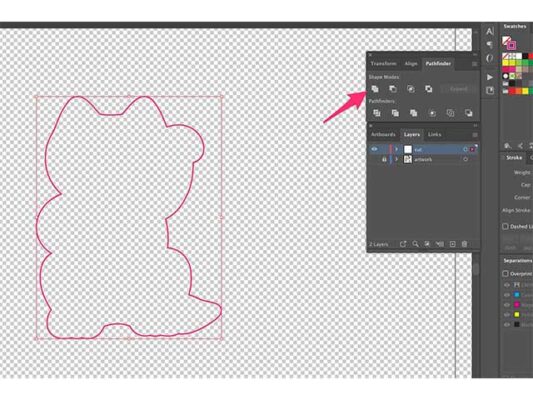
- Select and Attach: Select all the layers of your design, then click “Attach” to keep the layers in their intended positions during the cutting process.
- Resize and Preview: Resize your design if needed and use the preview feature to ensure that the layers align correctly before cutting.
Attach Layers for Cutting
Step 7: Cutting and Assembling
- Choose Materials: Set your Cricut machine to the appropriate material settings for each layer. Load the first material onto the cutting mat.
- Cut Each Layer: Follow the on-screen prompts to cut each layer. Repeat the process for every layer in your design.
- Assemble Your Design: Once all layers are cut, carefully assemble your design layer by layer. Adhesive or glue can be used to secure the elements together.
Cutting and Assembling
Troubleshooting Tips
- Check Mat Adhesion: Ensure that your material is securely adhered to the cutting mat to prevent shifting during the cutting process.
- Use Cardstock for Stability: For intricate designs, consider using cardstock for added stability and easier assembly.
- Test on Scrap Material: Before cutting your final design, perform a test cut on scrap material to ensure settings are accurate.
Congratulations! You’ve successfully learned how to make a layered SVG design in Cricut Design Space, unlocking the potential for dynamic and visually striking creations. Whether you’re crafting personalized gifts, intricate paper projects, or elaborate home decor, the versatility of layered SVGs in Cricut Design Space empowers you to elevate your projects with depth and creativity. Embrace the crafting journey, experiment with different elements, and watch as your layered designs come to life in a multi-dimensional way. Happy crafting!
If you found this content beneficial, consider exploring additional articles on related topics to deepen your understanding and enhance your skills. Feel free to check out the following articles for further insights:
Image Evolution: A Comprehensive Guide on How to Convert a JPG File to SVG