In the vast landscape of digital design, the ability to seamlessly convert a JPG (Joint Photographic Experts Group) file into the versatile SVG (Scalable Vector Graphics) format is a valuable skill. SVG files offer scalability without compromising quality, making them ideal for various applications such as logos, web graphics, and designs for cutting machines. In this detailed guide, we will walk you through the step-by-step process of converting a JPG file to SVG, unlocking the potential for high-quality, resizable graphics in your creative projects.
Contents
Understanding the Significance of JPG and SVG Formats
Before we dive into the conversion process, it’s essential to grasp the characteristics of both JPG and SVG file formats.
- JPG (Joint Photographic Experts Group): This widely-used format is suitable for photographs and images with complex color gradients. However, JPGs are raster images, meaning they are composed of a fixed grid of pixels and may lose quality when resized.
- SVG (Scalable Vector Graphics): SVG, on the other hand, is a vector image format that uses mathematical equations to define shapes. This allows for infinite scalability without any loss of quality, making SVGs perfect for designs that require precision and flexibility.
Step 1: Selecting the JPG File
- Begin by choosing the JPG file you want to convert to SVG. Opt for an image that is clear, with well-defined details. Complex images may result in intricate SVG paths, so it’s advisable to start with a straightforward image, especially if you are new to the conversion process.
- Ensure the chosen image is of high resolution to retain important details during the conversion.
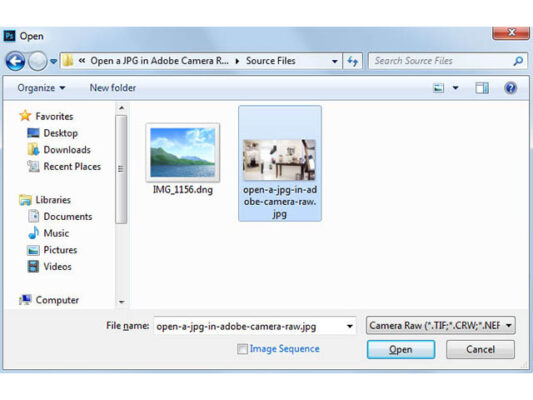
Step 2: Preparing the Image
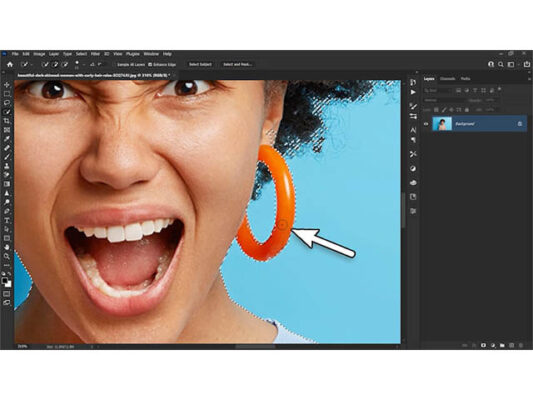
- Open your selected JPG file in graphic design software such as Adobe Photoshop or GIMP.
- Crop or resize the image as necessary, eliminating any unnecessary elements and focusing on the essential components.
- Adjust contrast and brightness to enhance the overall details of the image.
Step 3: Tracing the Image
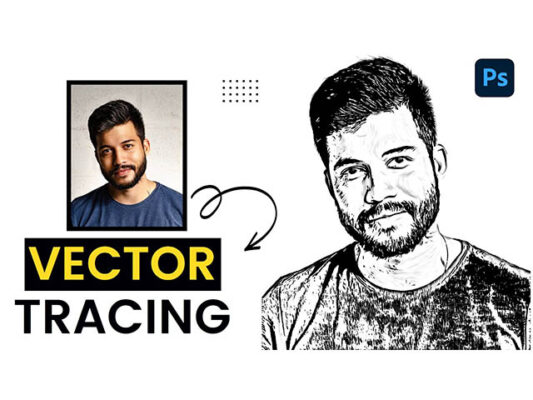
- Utilize a vector graphic design tool like Inkscape, Adobe Illustrator, or an online SVG converter equipped with tracing capabilities.
- Import your prepared JPG file into the chosen vector graphic software.
- Locate the tracing or vectorization feature within the software and adjust the settings to strike a balance between capturing details and simplifying the image for optimal scalability.
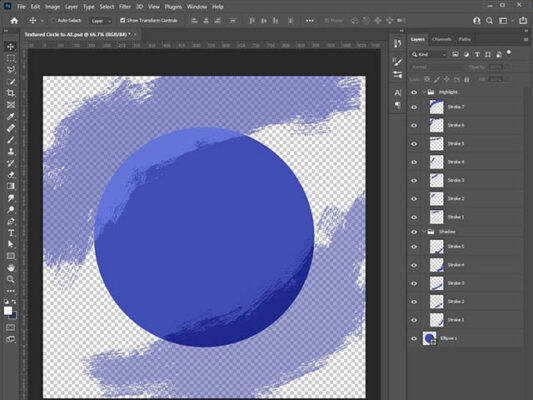
Step 4: Refining the Vector
- After completing the tracing process, review and refine the resulting vector paths. Remove any extraneous elements and simplify intricate details while maintaining the essence of the image.
- Pay close attention to areas where the tracing may not be entirely accurate and manually adjust vector points for precision.
Step 5: Saving as SVG
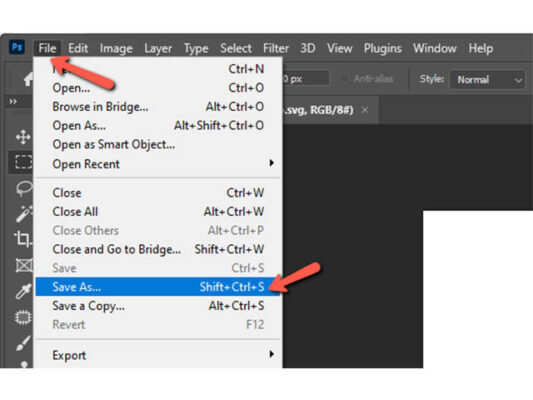
- Once satisfied with the vectorized image, save the file as an SVG. Most graphic design software allows you to choose “Save As” or “Export” and select SVG as the file format.
- Adjust any export settings related to SVG, such as embedding fonts or including additional information, based on your preferences.
Step 6: Testing the SVG
- Open the newly created SVG file in a web browser or a vector graphic viewer to ensure a successful conversion.
- Look for any issues, such as missing details, unexpected artifacts, or distortions in the image.
Troubleshooting Tips
- Image Complexity: For intricate JPGs, consider simplifying the image before the tracing process to achieve a cleaner SVG result.
- Software Compatibility: Confirm that the chosen vector graphic software supports JPG to SVG conversion and provides accurate tracing options.
- Testing at Different Sizes: Verify that the SVG maintains quality when scaled to different sizes, as scalability is a key advantage of the SVG format.
Congratulations! You’ve successfully learned how to convert a JPG file to SVG, enabling you to transform raster images into highly versatile, scalable vector graphics. This newfound skill expands your creative toolkit, allowing you to preserve the essence of your original image while enjoying the benefits of precision and scalability that SVG files offer. Whether you’re designing logos, web graphics, or custom creations for cutting machines, the ability to convert JPG to SVG empowers you to elevate your digital design projects with clarity and flexibility. Embrace the versatility of vector graphics and embark on a journey of creative exploration.