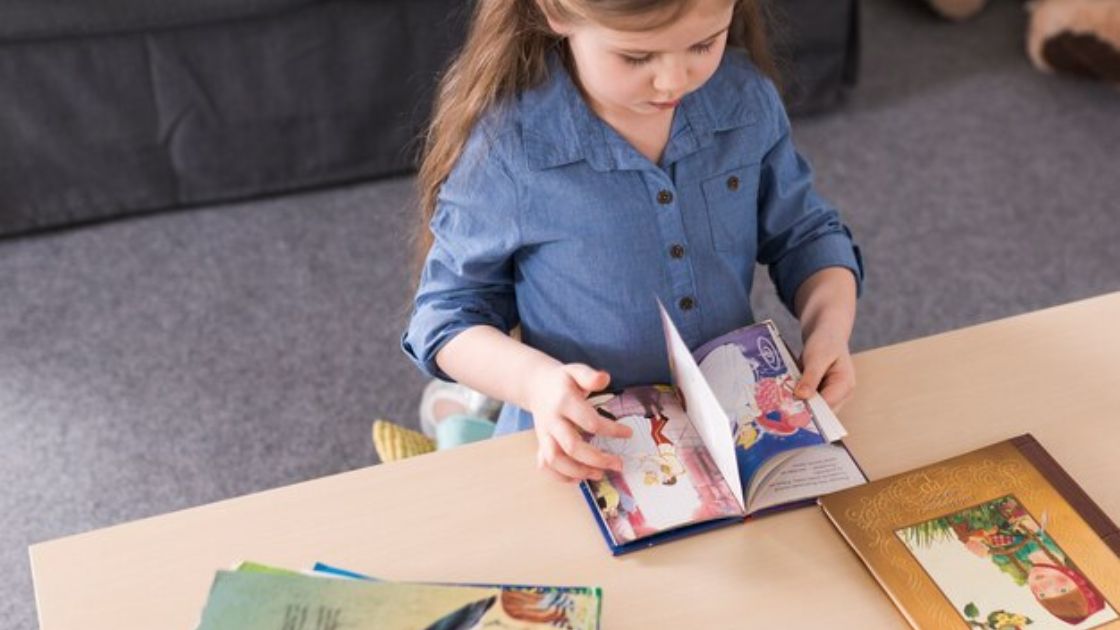
Creating illustrations for children’s books is not only a creative journey, but also an opportunity to connect with young readers. It’s really important to stay in creative mode when creating content so you can allow more creative juices to build momentum, which will ultimately yield more realistic results. In this detailed guide, we’ll explore the important steps, from choosing a story idea to getting feedback and sharing the joy of completing your work.
Contents
WHAT IS AN ILLUSTRATION?
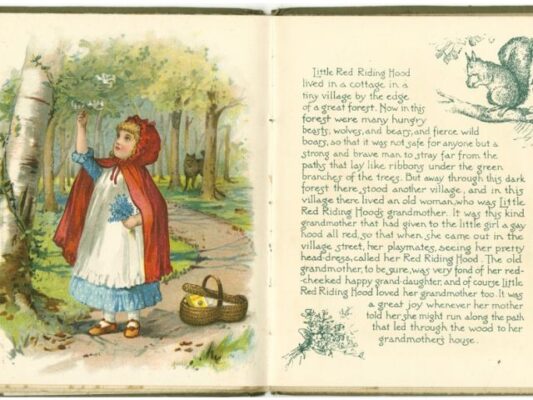
An illustration is a visual representation of an idea, concept, real or imaginative objects, and/or scenes. These could be in the form of a drawing or a painting. They may also be digitally created using a computer. A photograph is considered as an illustration if its purpose is to elucidate an idea or a concept.
Keshav – Content Writer | Software Developer
THE DIFFERENCE BETWEEN “DESIGNER” AND “ILLUSTRATOR”
A designer
- Typically relies on a set of elements such as images, fonts, etc., and arranges them into attractive layouts.
- The main task of a designer is to focus the viewer’s attention on an image, idea, detail, or a part of the design, making an idea appealing and memorable.
An illustrator
- Often produces images independently and doesn’t necessarily work on the entire design of a “product.”
- Illustrations are often supportive of other media. For example, illustrations commonly accompany articles, books, magazines, and are frequently used to enhance and provide better service to ideas, text, or additional explanations.
- Illustrators strive to maintain a balance between images and text, avoiding monopolizing all attention on the illustration.
HOW TO ILLUSTRATE A CHILDREN’S BOOK
Step 1: Decide on a story idea
When deciding on a story idea, the most important thing is to think about the type of story you want to tell and the message you want to convey through that story. Consider the age group you’re targeting and what type of illustration will appeal to them. Here are some things you can do to make decisions about your story ideas:
- Brainstorm ideas: Start by brainstorming ideas for your story. Think about what kind of story you want to tell and what message you want to convey. Consider the age group you are targeting and what kind of illustrations would appeal to them.
- Research: Do some research to see what kind of stories are popular in the children’s book market. Look for books that are similar to the story you want to tell and see what makes them successful.
- Develop your characters and setting: Once you have a story idea, you can start to develop your characters and setting. Think about what your characters look like, what their personalities are like, and what kind of world they live in.
Step 2: Make a schedule
Scheduling is an important part of the illustration process. You should decide on a timeline for your project and set deadlines for each stage of the process. This will keep you on track and ensure that you complete your illustrations on time. Try to make a schedule every time you work because it will help you work very effectively.
- Break it down: Break your project down into smaller tasks and assign deadlines for each task. This will help you stay organized and ensure that you complete your illustrations on time.
- Be realistic: Be realistic about how much time you can dedicate to your project each day or week. Don’t set unrealistic deadlines that you won’t be able to meet.
- Be flexible: Be flexible with your schedule and be prepared to adjust it if necessary. Life happens, and sometimes things don’t go according to plan.
Step 3: Write the story
Before you start illustrating, you need to write the story you want. This will help you visualize the objects and setting, and give you a better idea of the type of illustration you need to create. When writing your story, keep in mind the age group you are targeting and use language and themes that appeal to them. When writing your story, you should pay attention to the following:
- Keep it simple: Children’s books are typically short and simple. Keep your story simple and easy to understand.
- Use repetition: Repetition can be a powerful tool in children’s books. Use repetition to reinforce key themes or ideas in your story.
- Use descriptive language: Use descriptive language to help your readers visualize the characters and setting. Use words that will appeal to the senses and create vivid images in the reader’s mind.
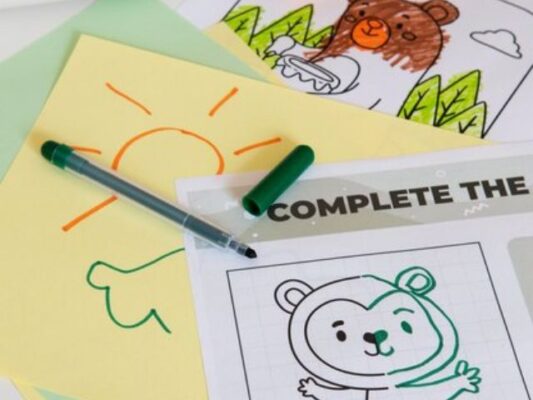
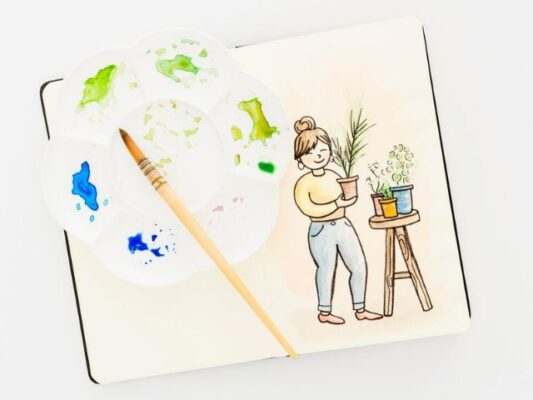
Step 4: Illustrate the story
Now it’s time to start illustrating your story. Start by sketching your characters and setting. Experiment with different styles and techniques until you find the one that best suits your story. Once you have your sketch, you can start creating the final illustrations for your story. Remember to keep your audience in mind and create illustrations that capture their attention and imagination.
- Experiment with different styles: Try out different styles and techniques until you find the one that works best for your story.
- Use color: Color can be a powerful tool in children’s books. Use color to create mood and atmosphere in your illustrations.
- Create a storyboard: Creating a storyboard can help you plan out your illustrations and ensure that they flow well with your story.
Step 5: Get feedback
Once you’ve completed your illustrations, it’s time to get feedback from everyone around you. Share your work with friends, family and other artists and ask for their opinions. Use their feedback to improve your illustrations and make any necessary changes. So how can you make that feedback useful to you in your creative process?
- Be open to criticism: Be open to criticism and use it to improve your illustrations.
- Ask for specific feedback: Ask for specific feedback on areas that you are unsure about.
- Take your time: Take your time and don’t rush the feedback process. Give yourself time to reflect on the feedback and make any necessary changes.

Step 6: Celebrate
Finally, it’s time to celebrate your success. Take some time to reflect on your hard work and the wonderful illustrations you have created. Share your work with others and enjoy the joy of knowing that you’ve created something truly special. You’ve tried so hard, so let’s celebrate!
- Share your work: Share your work with friends, family, and other artists.
- Take a break: Take a break and give yourself some time to relax and recharge.
- Reflect on your success: Reflect on your success and be proud of what you have accomplished.

CONCLUSION
Illustrating children’s books is a wonderful experience that requires creativity, patience and hard work. By following these steps, you can create illustrations that capture the hearts and imaginations of children and adults alike. If you have difficulty in the first steps, don’t give up, give yourself more time and practice more. Remember to stay true to your vision and have fun along the way. Happy illustrating!
Related Posts