As you may know, Adobe Illustrator is a powerful tool for graphic designers, and one of its most useful features is the ability to create clipping masks. A clipping mask allows you to mask parts of an object or group of objects so that only the areas within the image are visible. In this article, we’ll explore what a clipping mask is, the difference between a layer mask and a clipping mask, when to use a clipping mask in graphic design, and how to create a clipping mask in Adobe Illustrator .
Contents
What is a Clipping Mask?
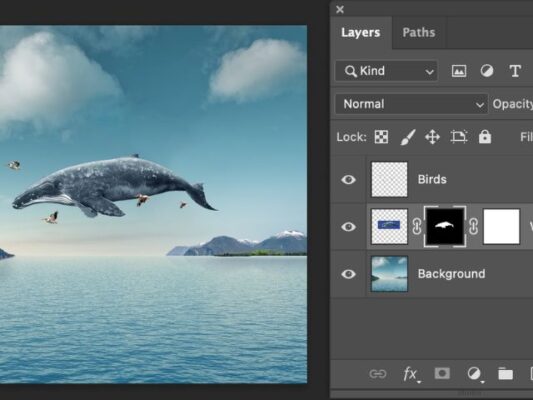
A clipping mask is an object whose shape masks other artwork so that only areas that lie within the shape are visible, in effect, clipping the artwork to the shape of the mask. The clipping mask and the objects that are masked are called a clipping set. You can make a clipping set from a selection of two or more objects or from all objects in a group or layer. Only vector objects can be clipping masks; however, any artwork can be masked.
A clipping mask is a group of layers to which a mask is applied. The bottommost layer, or base layer, defines the visible boundaries of the entire group. For example, suppose you have a shape in the base layer, a photograph in the layer above it, and text in the topmost layer. If the photograph and text appear only through the shape outline in the base layer, they also take on the opacity of the base layer.
Adobe.com
The Difference Between a Layer Mask and Clipping Mask
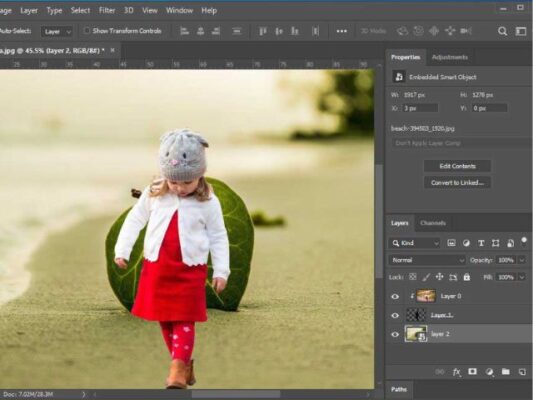
In Adobe Illustrator, you can create both layer masks and clipping masks. A layer mask hides or exposes different parts of a layer. A clipping mask uses one layer’s transparency to expose another’s visibility. With a clipping mask, the bottom layer is the mask, while the top layer is “clipped” to the mask (the bottom layer). So, if you’re filling text shapes with a pattern, the text will be on the bottom layer, which will be the mask, and the pattern will exist on a layer above that and become the “clipping,” which will fit into the mask. Clipping masks use multiple layers to hide portions of images, and layer masks use only one layer.
When to Use a Clipping Mask in Graphic Design
The mask feature is excellent for creating all kinds of intriguing designs. You can use the effect to:
- Create interesting typography by applying a pattern, photo, or any kind of image. You can even have an entire illustration inside the text if you want!
- Create engaging editorial designs. Editorial designers are no strangers to the clipping mask tool.
- Create unique and eye-catching designs. Clipping masks enable you to make designs unique and eye-catching.
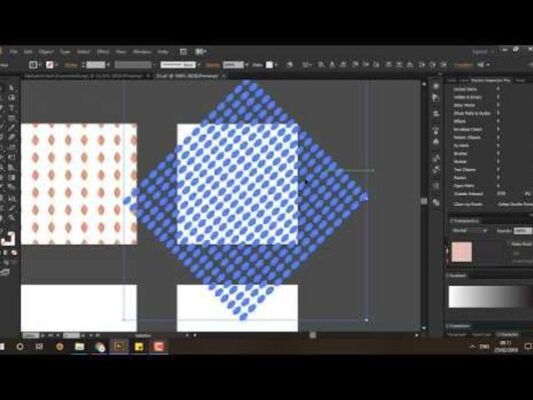
How to Make a Clipping Mask in Adobe Illustrator
To make a clipping mask in Adobe Illustrator, follow these steps:
- Create the object you want to use as the mask. This object is called the clipping path. Only vector objects can be clipping paths.
- Move the clipping path above the objects you want to mask in the stacking order.
- Select the clipping path and the objects you want to mask.
- Choose Object > Clipping Mask > Make.
Conclusion
Clipping masks are a powerful tool in Adobe Illustrator that can help you create unique and eye-catching designs. They allow you to mask parts of an object or group of objects so that only the areas within that shape are visible. Through this article, we discovered what a clipping mask is, the difference between a layer mask and a clipping mask, when to use a clipping mask in graphic design, and how to create a clipping mask in Adobe. Illustrator. We hope this article was helpful in expanding your knowledge of Adobe Illustrator and its capabilities.
Related Posts